In an effort to rekindle the excitement of this whole home renovation thing, I tried some fun projects that I hoped would also add to the overall appeal of the house (without having to do ANY MORE washing, sanding, painting, etc.)
The master bedroom closet is very long and the previous owners had a curtain stretching over it, rather than closet doors. We'd taken down the curtains to paint and carpet the room and had been staring into the disarray of the 96 inch closet ever since.
I decided to make some curtains that would coordinate with the duvet cover I found at Bed, Bath and Beyond's clearance section for super cheap.
The duvet cover has a pattern with a silhouette of a bird on a branch, which I wanted to replicate on the curtain. I made a stencil by tracing the bird on tissue paper and then gluing the tissue paper onto cardstock. The result was this:
I bought a king-sized sheet which would stretch across the whole closet for 6$ from Goodwill. I cut the sheet in half and "hemmed" it using Stitch Witchery. This stuff is amazing! It's an iron-on adhesive that holds fabric together and is so much easier (for me) than sewing a seam!
Once I had two panels of blank canvas, I experimented with some spray fabric paint and a scrap of fabric to see if the stencil would work. I tried the spray paint, some acrylic paint and bleaching out the color to see what looked best.
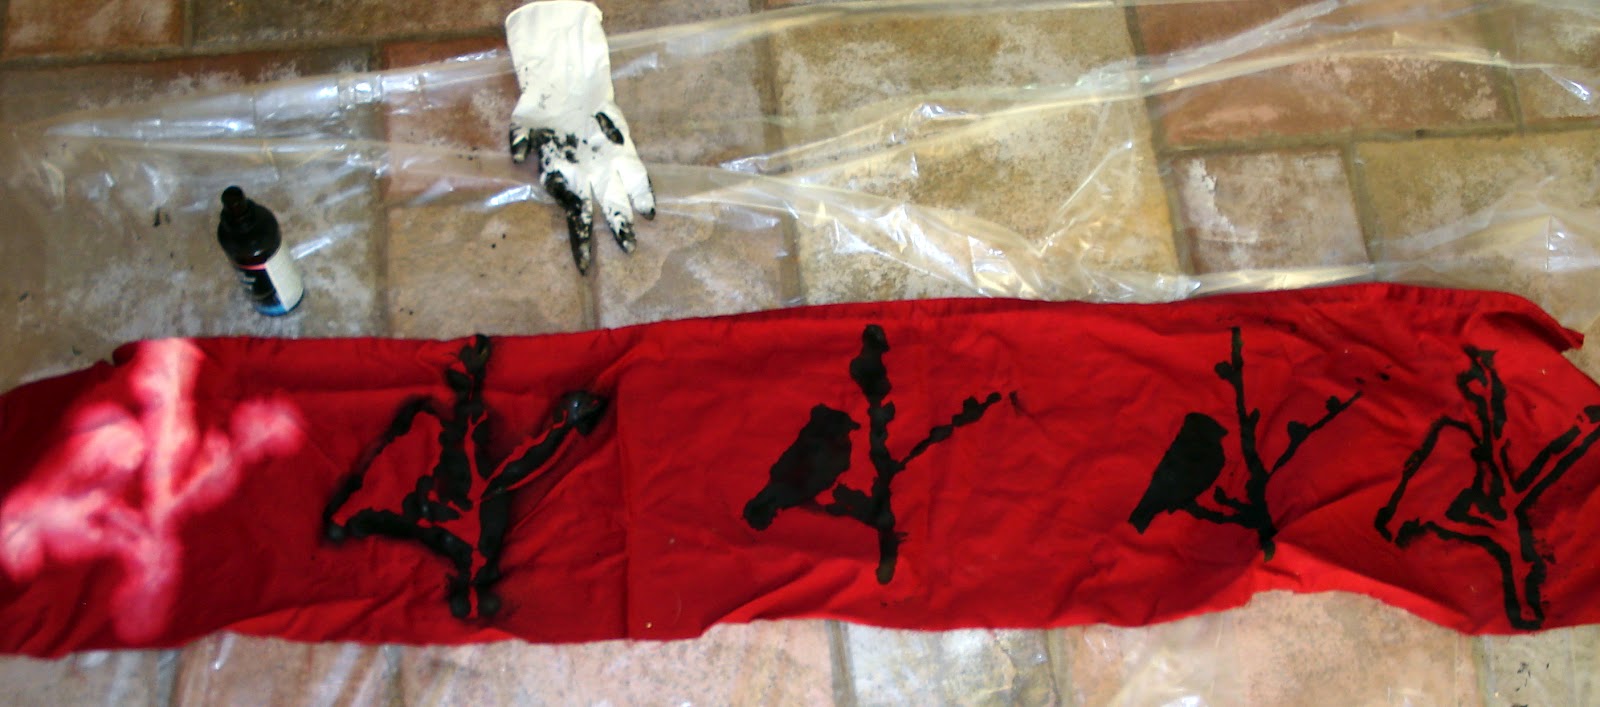
The bleaching didn't work at all for this stencil and the fabric paint wasn't precise enough for the detail either. The acrylic paint with a small brush would have to do, though that was the most time-consuming option. I had to free-hand most of the design and I came up with it right on the spot, so I might have done something more organized like a repeating pattern if I'd known ahead of time what method would work with the stencil.
I started making a black tree with a mixture of the fabric paint and acrylic paint, but I had to pour the fabric paint out of its bottle and scrap the pump spray because it wasn't accurate enough:
I used the stencil for the birds, but otherwise free-handed this whole panel. Then I added the white accents.
For the second panel, I wanted a design to complement the first, but knew I could never replicate the whole thing. So I did this:
The white horizontal lines are just from sun streaming through the blinds. Sophie is inspecting my work as it dries.
When they were dry we hung them on a wooden rod that the previous owners had left us with.
Right panel:
Left panel:
Together:
Again, my photography skills are woefully insufficient, but in person the curtains look pretty good! The entire project took me probably around 8 hours, but it only cost about $12. Not too shabby.
A smattering of thoughts for animal-lovers, Seattleites, word nerds, Celiacs, travelers, and probably your mom.
Thursday, August 30, 2012
Thursday, July 26, 2012
Laundry Room
Another time-consuming project we had underway during our move was the laundry room, which is also the bathroom for the lower level. When we bought the house, there had been a washer and dryer in a homemade laundry room that had been sectioned off from the garage. It needed a bit of new flooring but we thought that wouldn't be a problem.
When the occupants left, they took their washer and dryer, which should have remained, to their new home. After a little investigating, Jared discovered that not only was the floor rotting out, but the vent hookup had not really been done properly either. We were left with this:
So we decided to put the laundry room back where it belonged, rather than try to fix the strange set-up that the "remodelers" had constructed.
Jared's dad patched the hook-up holes for us:
Then we had to go about tearing up the walls in the perfectly good (except hideously painted) bathroom where the laundry hookups needed to be returned. I say "we" but what I mean is "Jared and his parents."
With all the walls down, Jared figured out how to reroute the water and the dryer vent back to the house's original design. I was impressed to say the least!
With the addition of entirely new walls, the space started to look like a room again.
I was especially pleased with the water hookups and dryer vent. They work!
Add a little paint and put the fixtures back in (easier said than done) and voila! It's a laundry room/bathroom!
Jared also added vinyl wall-base trim and a lighting fixture, not to mention the washer and dryer units themselves, but I don't have photos of those yet. The last items to add are the mirror above the sink and maybe a shelf. Yay, Jared!
When the occupants left, they took their washer and dryer, which should have remained, to their new home. After a little investigating, Jared discovered that not only was the floor rotting out, but the vent hookup had not really been done properly either. We were left with this:
So we decided to put the laundry room back where it belonged, rather than try to fix the strange set-up that the "remodelers" had constructed.
Jared's dad patched the hook-up holes for us:
Then we had to go about tearing up the walls in the perfectly good (except hideously painted) bathroom where the laundry hookups needed to be returned. I say "we" but what I mean is "Jared and his parents."
With all the walls down, Jared figured out how to reroute the water and the dryer vent back to the house's original design. I was impressed to say the least!
With the addition of entirely new walls, the space started to look like a room again.
I was especially pleased with the water hookups and dryer vent. They work!
Add a little paint and put the fixtures back in (easier said than done) and voila! It's a laundry room/bathroom!
Jared also added vinyl wall-base trim and a lighting fixture, not to mention the washer and dryer units themselves, but I don't have photos of those yet. The last items to add are the mirror above the sink and maybe a shelf. Yay, Jared!
Wednesday, July 11, 2012
Homeward Bound
Well Blogfans, in case you haven't heard the news, Jared bought a house that (now) looks like this:
It's unfortunate that it's so difficult to photograph entire rooms, because these pictures hardly convey the amount of work that has been (and will continue to be) going on in this house. There are too many projects to put in one post, but I'll start with one that was a major concern: the sloping cement floor.
We pulled up carpet, padding, tack boards and trim, scraped adhesive, and convinced one of the brilliant operations employees from the zoo to come measure the uneven spots with a laser level
Then Jared ground down the exposed cement and built up twenty little mounds to mark how far up each low spot on the floor had to be raised. Our savior from the zoo, plus my mechanically-gifted brother-in-law and an extremely generous friend of Jared's spent several hours mixing, pouring and smoothing what turned out to be over 4,000 pounds of cement!
There aren't any good "after" photos yet because the room, even though it is now carpeted and full of furniture, isn't really set up. We aren't quite to the "after" stage yet.
Another project that was rather time-sensitive was the hall bathroom, which needed to be in working order for us to live in the house, since it would become our primary bathroom. It started out looking rather shabby, with some strange safari wallpaper border, a lazy paint job (they didn't paint near the door trim and also neglected to paint near or around the mirror).
Additionally, Jared found that the caulking in the shower was...insufficient. Unless you really want a removable soap dish. And rotten drywall.
After some intensive scraping with a putty knife, (and some help from Jared's hard-working mother!) we eventually removed all of the hideous wallpaper as well as the caulk. The joints in my hands did not thank me. Here is the room with the new paint job, soap dish and complete re-caulking:
Okay, so the photos don't look like we're transforming the house quite the way I FEEL like we're transforming the house, but they're all I've got. Trust me, we're working hard.
It's unfortunate that it's so difficult to photograph entire rooms, because these pictures hardly convey the amount of work that has been (and will continue to be) going on in this house. There are too many projects to put in one post, but I'll start with one that was a major concern: the sloping cement floor.
We pulled up carpet, padding, tack boards and trim, scraped adhesive, and convinced one of the brilliant operations employees from the zoo to come measure the uneven spots with a laser level
Then Jared ground down the exposed cement and built up twenty little mounds to mark how far up each low spot on the floor had to be raised. Our savior from the zoo, plus my mechanically-gifted brother-in-law and an extremely generous friend of Jared's spent several hours mixing, pouring and smoothing what turned out to be over 4,000 pounds of cement!
There aren't any good "after" photos yet because the room, even though it is now carpeted and full of furniture, isn't really set up. We aren't quite to the "after" stage yet.
Another project that was rather time-sensitive was the hall bathroom, which needed to be in working order for us to live in the house, since it would become our primary bathroom. It started out looking rather shabby, with some strange safari wallpaper border, a lazy paint job (they didn't paint near the door trim and also neglected to paint near or around the mirror).
Additionally, Jared found that the caulking in the shower was...insufficient. Unless you really want a removable soap dish. And rotten drywall.
After some intensive scraping with a putty knife, (and some help from Jared's hard-working mother!) we eventually removed all of the hideous wallpaper as well as the caulk. The joints in my hands did not thank me. Here is the room with the new paint job, soap dish and complete re-caulking:
Okay, so the photos don't look like we're transforming the house quite the way I FEEL like we're transforming the house, but they're all I've got. Trust me, we're working hard.
Friday, July 6, 2012
Home
I know I've been neglecting my blog lately, but there's a good reason
for it. We bought a house! Technically, I am nowhere on the paperwork,
so I guess I didn't buy one, but I get to live in one anyway.
I also got to spend an entire month going completely out of my mind trying to fix up the place to get in move-in ready. It looks much better now than it did, but I will admit that during all the chaos I didn't manage to take many good photos. But never fear, the DIY projects are enormous and not nearly complete, so there will be plenty more posts to ogle.
This one will be brief, but I do have one set of photos for you.
Exterior before:
And exterior after:
I also got to spend an entire month going completely out of my mind trying to fix up the place to get in move-in ready. It looks much better now than it did, but I will admit that during all the chaos I didn't manage to take many good photos. But never fear, the DIY projects are enormous and not nearly complete, so there will be plenty more posts to ogle.
This one will be brief, but I do have one set of photos for you.
Exterior before:
And exterior after:
More to come soon!
Friday, May 25, 2012
Left Behind: Inherited Items Discovered in Our New Home
Buying a home brings all kinds of emotions boiling to the surface--excitement, hope, terror... And of course, it brings an enormous amount of home improvement projects. But those things are boring unless it's your own house, so instead, for my first "First Home" post, I'm posting a photo journal. Not a photo journal of the house, per se, but rather of all the odd things bequeathed to us by the previous owners.
This is the front door, with a large, odd ship carving. (They had to leave the door though, so it probably doesn't count as part of the photo journal of "left behind" items.)
In the front yard we found this sturdy, handmade wooden rocking chair. I love it.
We inherited a chicken coop (I think?), but no chickens,
a bird bath (full of dirt) with a stone squirrel,
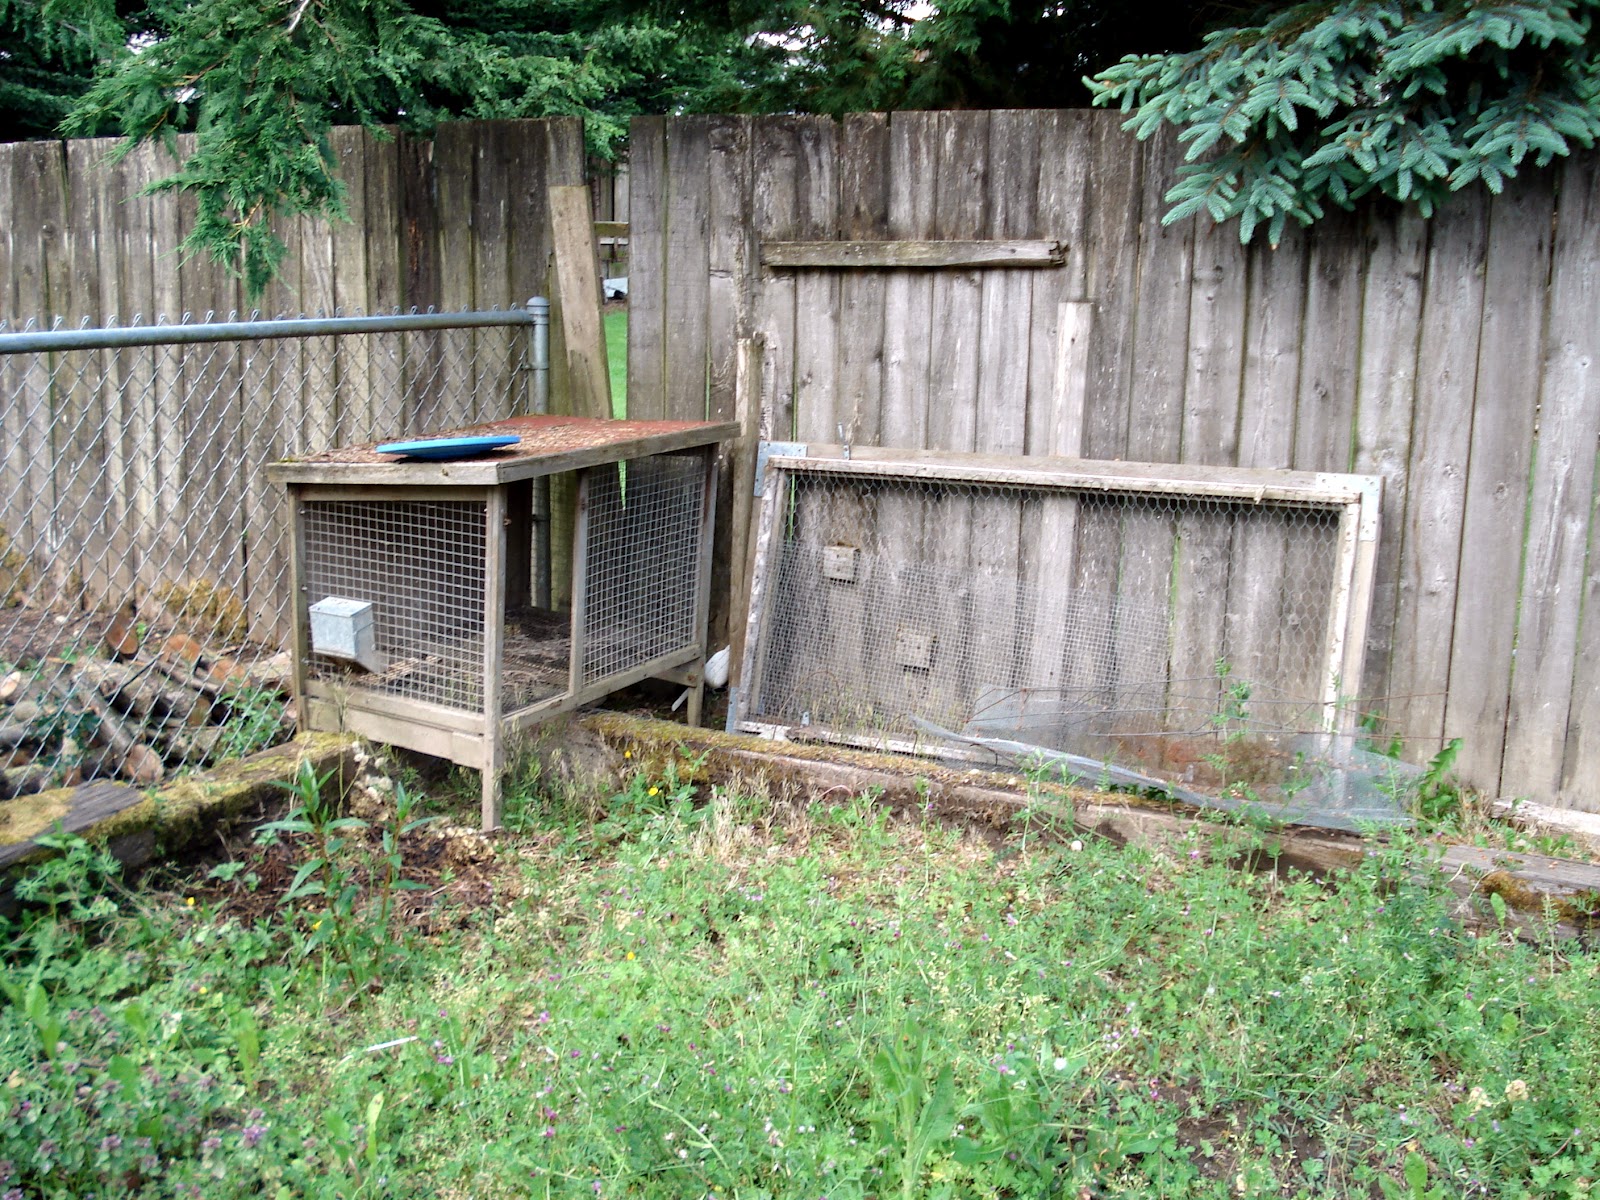
and a rather spacious pen with a rabbit hutch.
Our inherited decor includes this bird light switch,
and this Noah's Ark wind-chime.
This geode ashtray was tucked in a kitchen drawer and will probably get no use as an ashtray,
but we might use this sack of potatoes, also stashed in a kitchen cabinet.
On the fridge we found a dry erase note board complete with someone's number, but more importantly, they left us the magnet with the contact information for a plumber... Did they know something we don't?
And in a drawer with a few photos of children and appliance manuals, we found an important reminder: Bring zucchini!
Lastly, we found this guy hiding under the deck.
What odd items have you inherited when you've moved into a new place?
This is the front door, with a large, odd ship carving. (They had to leave the door though, so it probably doesn't count as part of the photo journal of "left behind" items.)
In the front yard we found this sturdy, handmade wooden rocking chair. I love it.
We inherited a chicken coop (I think?), but no chickens,
a bird bath (full of dirt) with a stone squirrel,
Our inherited decor includes this bird light switch,
and this Noah's Ark wind-chime.
This geode ashtray was tucked in a kitchen drawer and will probably get no use as an ashtray,
but we might use this sack of potatoes, also stashed in a kitchen cabinet.
On the fridge we found a dry erase note board complete with someone's number, but more importantly, they left us the magnet with the contact information for a plumber... Did they know something we don't?
And in a drawer with a few photos of children and appliance manuals, we found an important reminder: Bring zucchini!
Lastly, we found this guy hiding under the deck.
What odd items have you inherited when you've moved into a new place?
Thursday, May 24, 2012
3 Reasons to Visit Point Defiance Zoo
In case you weren't aware of the
entertaining, educational and relaxing venue for patrons of all ages and
interests, consider yourself updated! There is an amazing zoo in
Tacoma, WA that you simply must visit this spring/summer, especially if
you have never been or haven't recently visited.
Point Defiance Zoo and Aquarium used to be the neglected step-sister of the Woodland Park Zoo, but incredible vision, planning and hard work have made PDZA one of the premier zoos on the west coast. Breeding programs, exhibit designs, educational programs and live animal presentations propelled this city-run park into the nation's top tier of animal facilities.
So why should you go?
3.) The weather.
Western Washington has had a couple of really tough summer seasons with temperatures lingering in the 60's, and clouds dominating the Doppler for months. Not so this year! It's only May and I have already worn shorts to work several times! Amazing. The outdoor exhibits are delightful to view on these brighter days, as tigers and tapirs lounge in the sun. They also make good days for picnicking on the zoo's lawn.
2.) Babies. The fuzzy, striped or spotted kinds that steal your heart on sight. Point Defiance participates in a number of breeding efforts as part of Species Survival Programs. The keepers' diligence and experience is paying off this year as the zoo welcomed meerkat babies, clouded leopard cubs and just this week, a litter of endangered red wolf pups.
1.) The Wild Wonders Outdoor Theater.
I'm a little biased on this one, but I'm declaring the new animal show as the number one reason to visit Point Defiance Zoo and Aquarium this season. The show debuting this year is the fast-paced, animal-filled "Captain Adventure vs. Dr. Do-Nothing," featuring a cast of characters including Tilli the aardvark, Cactus Jack the porcupine, Caper the macaw, Herald the Wonderdog, and many more. The show is geared toward children, but audience members of all ages are feeling inspired to get up and try some fun outdoor activities.

I'll see you there!
Friday, May 4, 2012
Several of my family members have April birthdays, and I knew I wouldn't have time to make a cake for the joint birthday party we were having, so I brainstormed some craft projects I could give as gifts. I decided on decoupage coasters, inspired by these ones. Mine had a bit of a different flavor though, since I was making four sets, for four very different people.
The first set I tried was for my brother-in-law, who loves the show Arrested Development (who doesn't?!). I printed out the sequence of photos from Buster's encounter in the photo booth, though I forget which episode it's from. I cut the pictures out and glued each one onto a tile and painted over them with three coats of decoupage glue. Then I cut squares of felt and hot glued them to the backs of the tiles.
Simple! They looked pretty good, but I wanted to be sure that hot beverages and moisture wouldn't damage them, since they are coasters after all. I sprayed them with two coats of sealant to finish the job.
I wish I had taken a photo of the whole set of the Arrested Development coasters! I did remember to take photos of the Mario Brothers 3 set I made for my brother, as well as the Doctor Who set I made for my dad's wife.
I liked them all so much I wanted to make duplicates for myself! I will post more photos of the next sets as I finish them. Not only did these coasters work as personal gifts for anyone--print family photos on a set for Grandma, Monet paintings on a set for an art lover, etc.--they were also very inexpensive to make. The tiles cost 13 cents at Home Depot (or 16 cents at Lowe's), and felt is 33 cents a sheet from any craft store. I also tried adhesive felt, which was easier than hot glue and less messy. This would still only run you about a dollar per set of coasters. I already had the decoupage glue, but it runs about 7 dollars a bottle.
Have fun!
The first set I tried was for my brother-in-law, who loves the show Arrested Development (who doesn't?!). I printed out the sequence of photos from Buster's encounter in the photo booth, though I forget which episode it's from. I cut the pictures out and glued each one onto a tile and painted over them with three coats of decoupage glue. Then I cut squares of felt and hot glued them to the backs of the tiles.
Simple! They looked pretty good, but I wanted to be sure that hot beverages and moisture wouldn't damage them, since they are coasters after all. I sprayed them with two coats of sealant to finish the job.
I wish I had taken a photo of the whole set of the Arrested Development coasters! I did remember to take photos of the Mario Brothers 3 set I made for my brother, as well as the Doctor Who set I made for my dad's wife.
I liked them all so much I wanted to make duplicates for myself! I will post more photos of the next sets as I finish them. Not only did these coasters work as personal gifts for anyone--print family photos on a set for Grandma, Monet paintings on a set for an art lover, etc.--they were also very inexpensive to make. The tiles cost 13 cents at Home Depot (or 16 cents at Lowe's), and felt is 33 cents a sheet from any craft store. I also tried adhesive felt, which was easier than hot glue and less messy. This would still only run you about a dollar per set of coasters. I already had the decoupage glue, but it runs about 7 dollars a bottle.
Have fun!
Subscribe to:
Posts (Atom)