
The master bedroom closet is very long and the previous owners had a curtain stretching over it, rather than closet doors. We'd taken down the curtains to paint and carpet the room and had been staring into the disarray of the 96 inch closet ever since.
I decided to make some curtains that would coordinate with the duvet cover I found at Bed, Bath and Beyond's clearance section for super cheap.

The duvet cover has a pattern with a silhouette of a bird on a branch, which I wanted to replicate on the curtain. I made a stencil by tracing the bird on tissue paper and then gluing the tissue paper onto cardstock. The result was this:

I bought a king-sized sheet which would stretch across the whole closet for 6$ from Goodwill. I cut the sheet in half and "hemmed" it using Stitch Witchery. This stuff is amazing! It's an iron-on adhesive that holds fabric together and is so much easier (for me) than sewing a seam!
Once I had two panels of blank canvas, I experimented with some spray fabric paint and a scrap of fabric to see if the stencil would work. I tried the spray paint, some acrylic paint and bleaching out the color to see what looked best.
The bleaching didn't work at all for this stencil and the fabric paint wasn't precise enough for the detail either. The acrylic paint with a small brush would have to do, though that was the most time-consuming option. I had to free-hand most of the design and I came up with it right on the spot, so I might have done something more organized like a repeating pattern if I'd known ahead of time what method would work with the stencil.
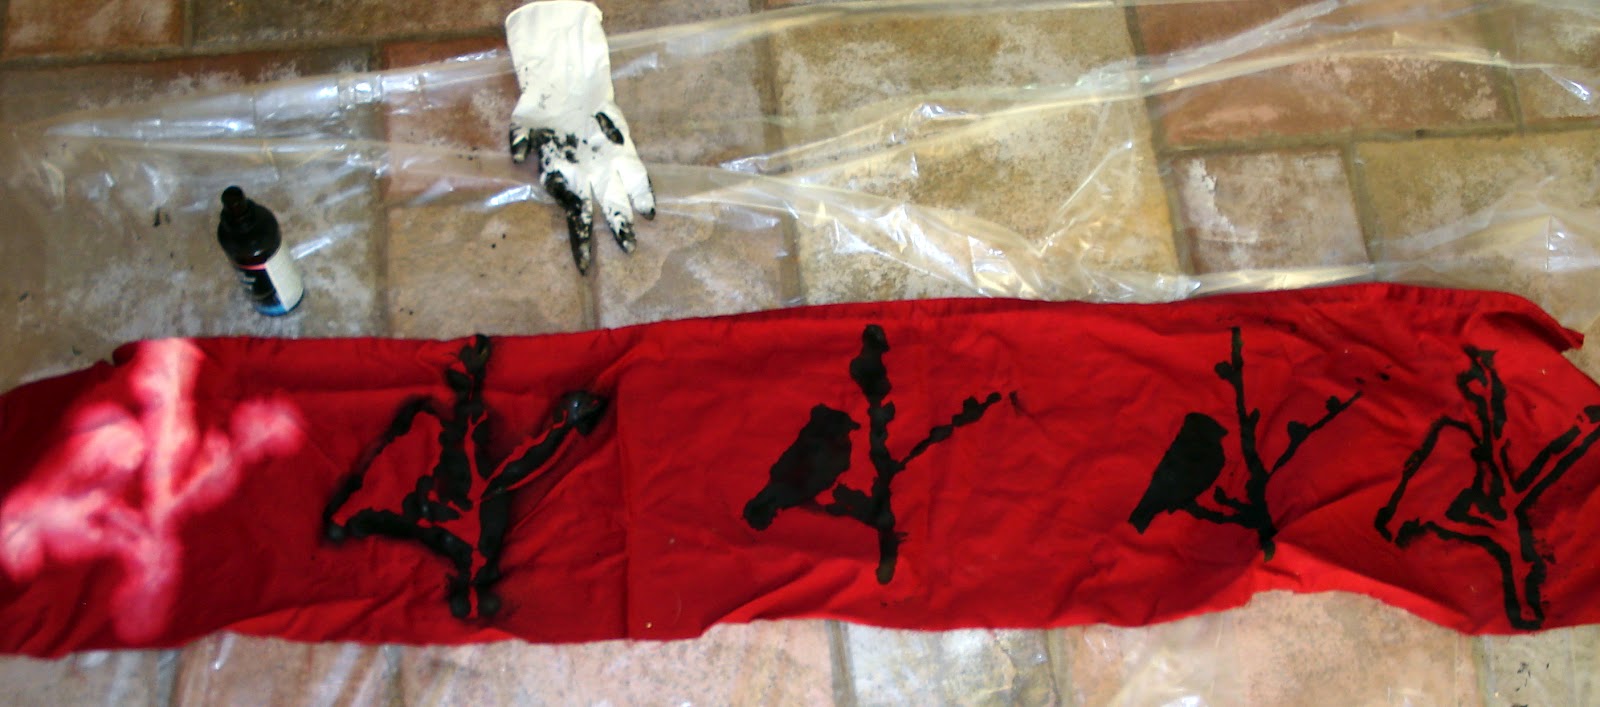
I started making a black tree with a mixture of the fabric paint and acrylic paint, but I had to pour the fabric paint out of its bottle and scrap the pump spray because it wasn't accurate enough:


I used the stencil for the birds, but otherwise free-handed this whole panel. Then I added the white accents.

For the second panel, I wanted a design to complement the first, but knew I could never replicate the whole thing. So I did this:

The white horizontal lines are just from sun streaming through the blinds. Sophie is inspecting my work as it dries.
When they were dry we hung them on a wooden rod that the previous owners had left us with.
Right panel:

Left panel:

Together:

Again, my photography skills are woefully insufficient, but in person the curtains look pretty good! The entire project took me probably around 8 hours, but it only cost about $12. Not too shabby.